

Mastering DevOps: Editing Files with VIM in Linux and Understanding the Linux File Types


Introduction
If you're new to DevOps, understanding how to edit files in the Linux terminal is a crucial skill to have. In this blog post, we'll focus on using the popular Vim text editor, which has a wide range of features and capabilities. We'll cover everything from installing Vim to using various commands to edit and view files in the Linux terminal. Additionally, we'll explore the Linux File types, which are essential for anyone learning DevOps.
Whether you're a Linux expert or just starting out, this blog post will provide you with valuable insights and tips. If you're not familiar with the basic Linux commands, I recommend reading my previous blog post for a better understanding. Get ready to dive into the world of Linux file editing and take your DevOps skills to the next level!
What is Vi/Vim?
Visual display editor or Visual display IMproved editor is a text editor which is used for editing and viewing files in the Linux terminal.
It has three modes:
Command mode: When you open a file in Vim, you will be in command mode by default. In this mode, you can use various commands to navigate and edit the file. We will be discussing the commands later in this blog.
Insert mode (edit mode): Insert mode allows you to type text into the file just like a regular text editor. To enter insert mode, press the "i" key. To exit insert mode and return to command mode, press the "Esc" key.
Extended command mode: Several extended modes in Vim allow you to perform more complex tasks. To enter an extended mode, type a colon (:) in command mode, and then enter the appropriate command. Here are a few examples:
:set - allows you to set various options, such as the tab width or line numbering.
:s - allows you to search and replace text in the file.
:v - allows you to select a block of text using visual mode.
Installing Vim:
To install the Vim editor on your Ubuntu Linux machine run the following command:
sudo apt install vim
To install the Vim editor on your CentOs Linux machine run the following command:
sudo yum install vim
Vim will be installed once the command runs successfully.
Text Editing with Vim:
To edit files in the Linux terminal with the Vim editor we need to run the vi filename command to open the file that we want to edit.
Suppose we have an empty file named newfile and we want to add content to it. We will implement the following steps to add content to the empty file:
Open the file in the Vim editor
vi newfileUpon opening the file you will see the following interface:
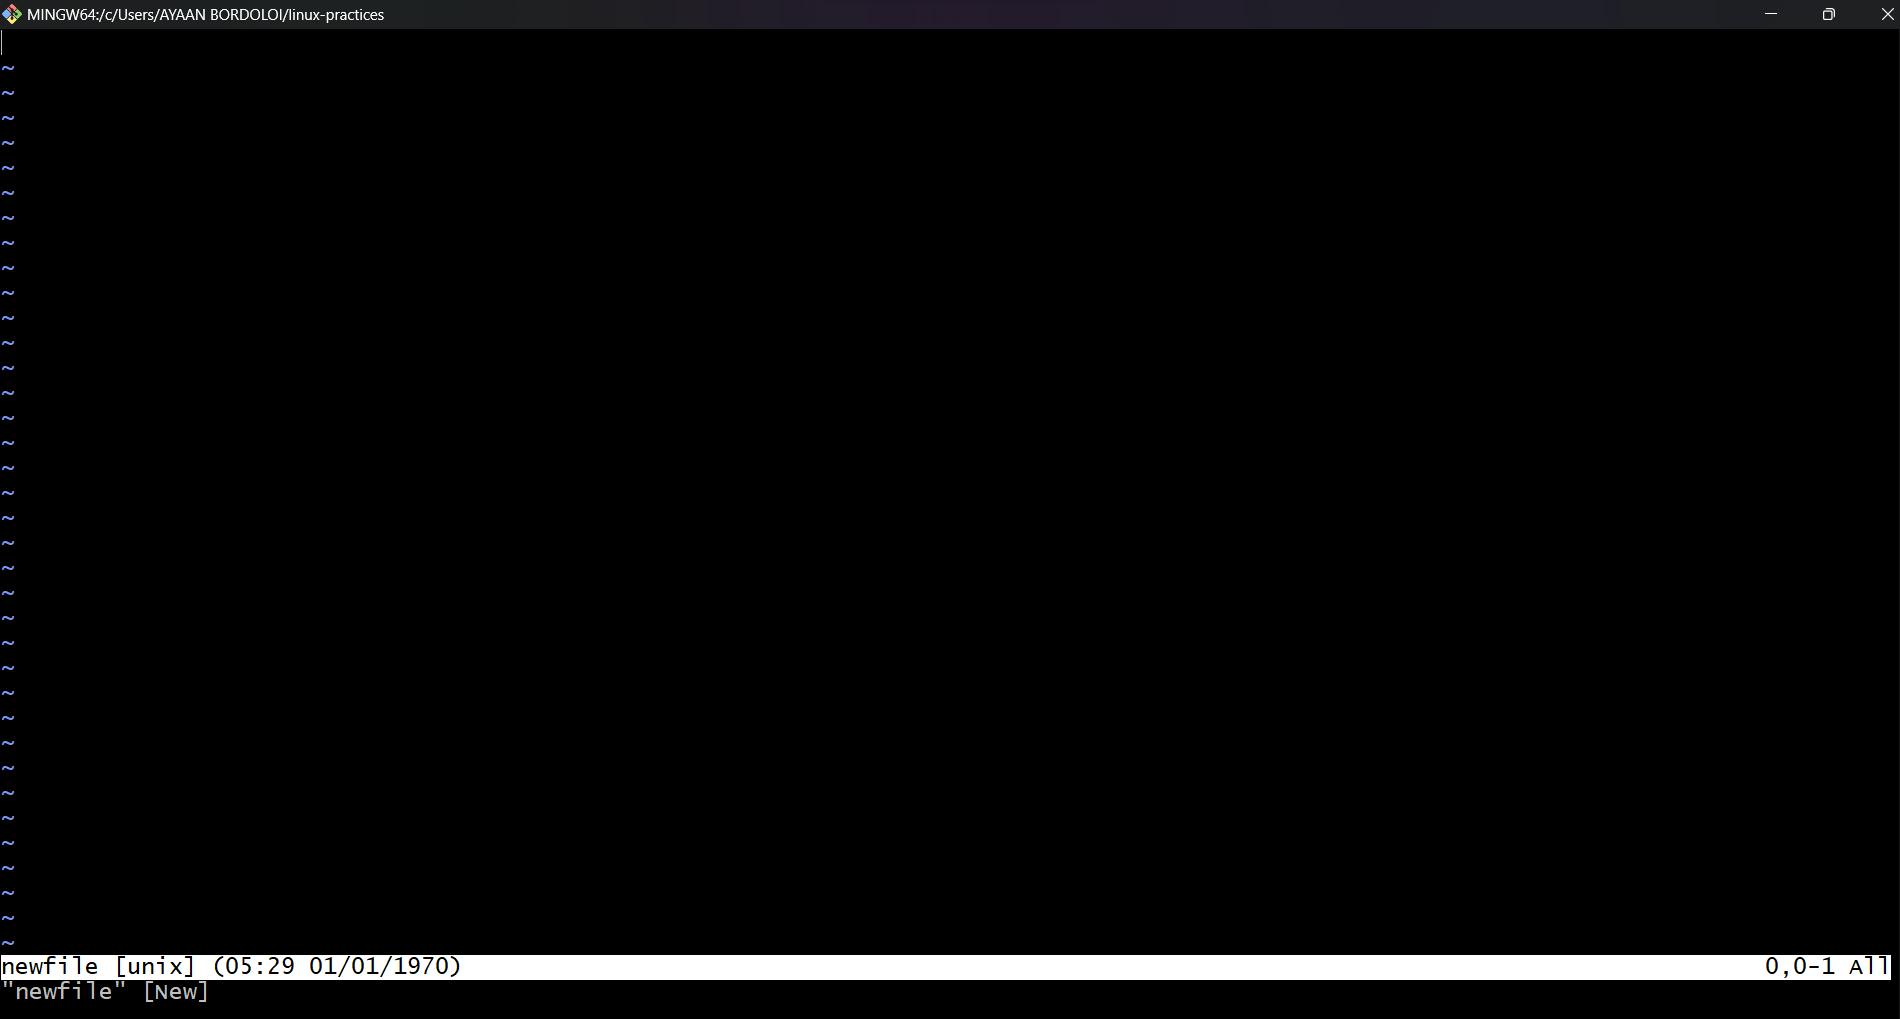
This is the newfile that we created and it is currently empty. We are going to add content to it. By default, it is in the command mode and we need to be in the insert mode to start editing the file.
Hit "i" to enter into insert mode
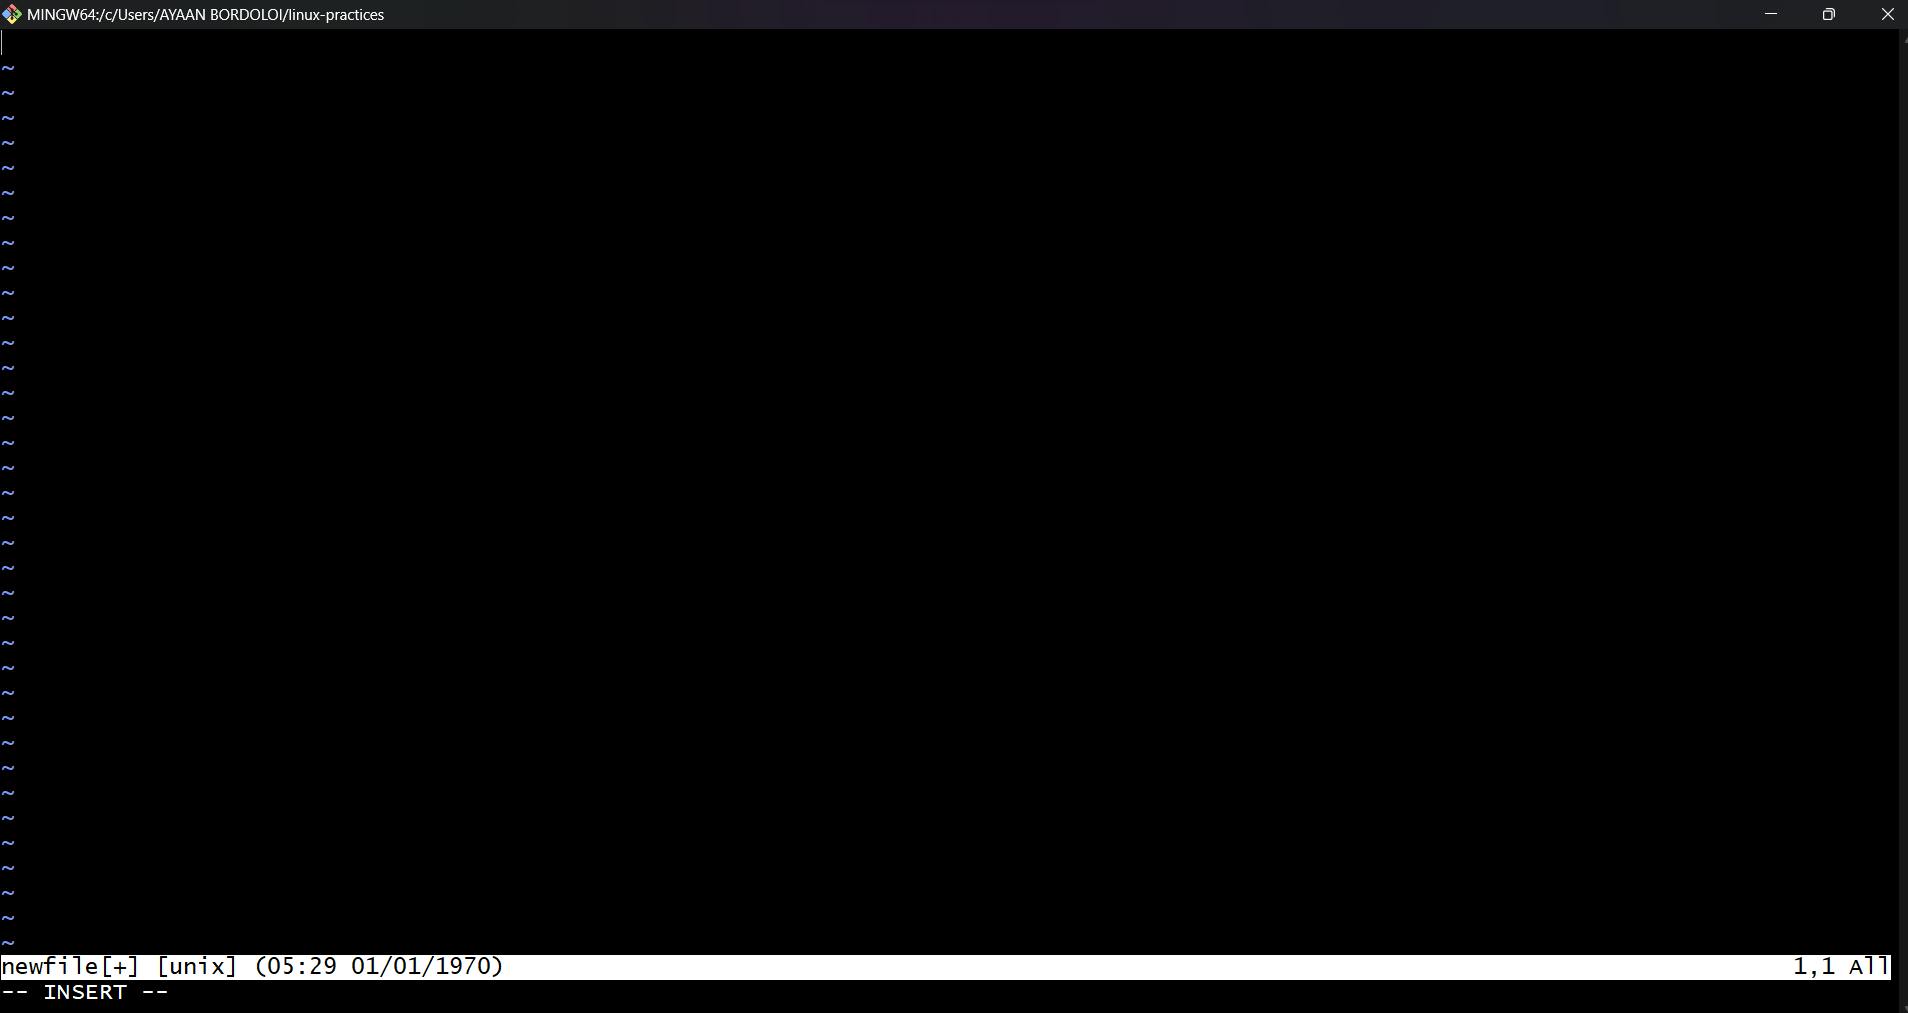
Now we are in the insert mode as you can already see at the bottom. We can start adding content to the file now.
Type a few lines and then hit
ESCto again switch back to command mode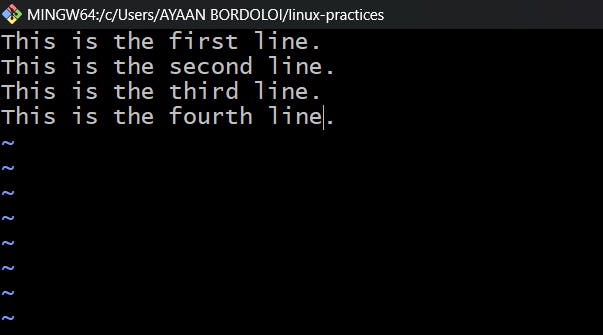
Content has been added to the file and now we need to save and exit from the Vim editor.
Type
:wqand hitEnterto save and exit from the editor.Read the content of the file by using the
catcommand.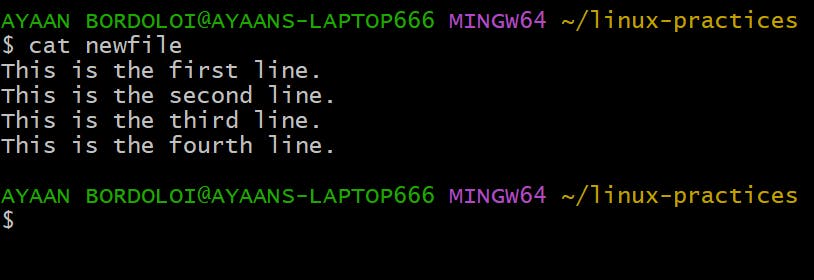
Vi Shortcuts
Command mode:
gg- To go to the beginning of the file.G- To go to the end of the file.w- To move the cursor forward, word by word.b- To move the cursor backward, word by word.nw- To move the cursor forward to n words.nb- To move the cursor backward to n words.u- To undo the last change. (word)U- To undo the last change. (Entire line)Ctrl+R- To redo the changes.VY- To copy a line.nyy- To copy n lines. (Eg: 4yy - Copies 4 lines)dw- To delete the word letter by letter. (Like backspace)dd- To delete an entire line.ndd- To delete n number of lines from the cursor position./- To search a word in the file.
Extended mode:
Esc+:w- To save the changes.Esc+:q- To quit without saving.Esc+:wq- To save and quit.Esc+:w!- To save forcefully.Esc+:wq!- To save and quit forcefully.Esc+:se nu- To set the line numbers of the file.Esc+:se nonu- To remove the set line numbers.
These are the essential commands and shortcuts to start editing files in the Vim text editor.
Bonus
Linux File Types
We have already seen two types of files in Linux. One is the text file and the other is the directory. Directories are also files, the keyboard and the mouse are files too. Everything in Linux is a file! But there are different types of files in Linux.
So, now let's explore the different types of files in Linux.
Regular files
In the Linux terminal of centos7, we switch to the root user and run the command
ls-l to list all the files. Now the question is how do we identify what kind of file it is? To answer that question we will have to see the begging of the file. If you see a "-" in the information, that means it's a regular file.

A regular file could mean it's a text file or a binary file also. So to be sure we have to run the file command and give the path of the file.

After running the file type we can see that it's an ASCII text file. So it's a text file.
Now if we go to the bin directory and ls-l there, we could see many files and there is a hyphen "-" at the beginning of the information too. That means it's a file but there is no guarantee that it is a text file or binary file. So we can run the file command again.
Let's give an absolute path this time. file/bin/pwd

So this is a binary file. There was a program written, then it got compiled and you got a binary file.
Directory files
Now to see if a file is a directory or not we have to see at the beginning of the information. If the beginning of the file contains a "d" we call it a directory.
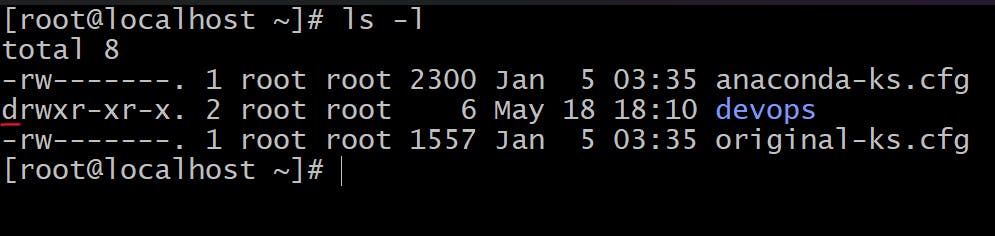
Above we can see that devops is a directory since it starts with "d" at the beginning.
Note: We could also check the same with the file devops command.
Device files
Now in the /dev dire directory it contains the device files. If you ls -l in this directory you should see different characters.
Character files: In Linux, character files are a type of file that represent devices or device drivers. They provide an interface for communication between user processes and the underlying hardware devices or device drivers.
If the file starts with
"c"we know that it's a character file like a keyboard.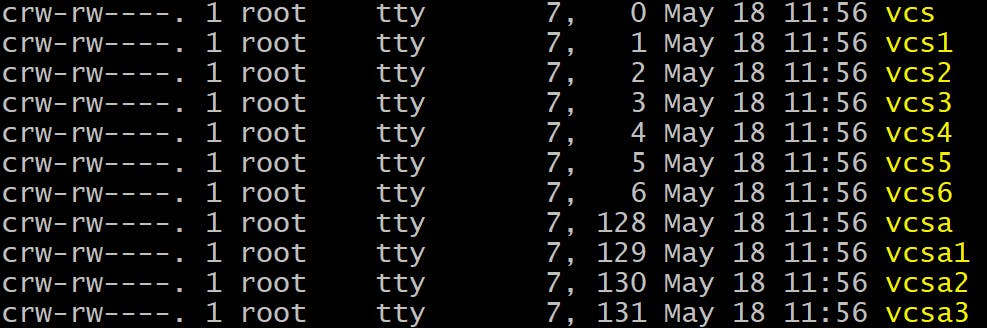
Block files: In Linux, block files are a type of file that represents storage devices, such as hard disk drives (HDDs), solid-state drives (SSDs), or USB drives. Block devices are accessed in fixed-size blocks, typically of 512 bytes or multiples thereof, hence the term "block."
If the file starts with
"b"we know that it's a block file like a hard disk.
Link files: A symbolic link is a file that acts as a pointer or reference to another file or directory. Symbolic links can point to files or directories on different file systems or even non-existent locations. If the target file or directory is moved or renamed, the symbolic link will break.
If the file starts with
"l"we know that it's a link file.
The above file is a link file that is pointing towards some other file which is the original file and the link file is only a shortcut to reach the original file.
Creating Links
So far we have seen the different types of files in Linux and how can we identify the type of file. We have discussed regular files, directory files and device files such as character files, block files and link files.
Now we are going to see how actually we can create links that point to our original file.
First, we will create a parent directory and some subdirectories inside it. After that, we are going to create a file inside it and add some content to it and save it.

Note: Use vi command if vim command is showing an error.
Now we will give the command ln -s which stands for soft link to create a soft link. First, we need to give the destination of the file after the ln -s command and then we need to add the source file.

When we ls -l we should see the link, newlink, that points to the original file.

To remove a link we can use the rm command or the unlink command.
Winding up
In this article, we learned how to create and edit files using the VIM editor and the different Linux file types. We also learned to create link files. I hope it was helpful.