This blog covers the step-by-step guide on how to download and install Ubuntu Linux Distribution on your Oracle VirtualBox.
Introduction to Ubuntu Linux
Ubuntu is a Linux distro based on Debian. Linux is an open-source Operating System (OS). Ubuntu is published every 6 months. Also, free support is present for 9 months for every publication and LTS published every 2 years. The initial publication of Ubuntu was in 2004 October. It is designed for network servers, smartphones, and computers. You can install Ubuntu directly on your hard drive or you can install it on your VirtualBox. Installing it on VirtualBox is recommended for beginners since you will need to back up your data before installing it on your hard drive.
What is VirtualBox?
Oracle VM VirtualBox is cross-platform virtualization software. It allows users to run multiple operating systems including Microsoft Windows, Mac OS X, Linux, and Oracle Solaris, at the same time.
Download Ubuntu
Download the Ubuntu 20.04 LTS version from here
LTS version is the Long term version and has the largest support times v/s any of the others.
Download & Install VirtualBox
You can download VirtualBox from here
Click the Download button on the downloads page and Select the VirtualBox for your current operating system.
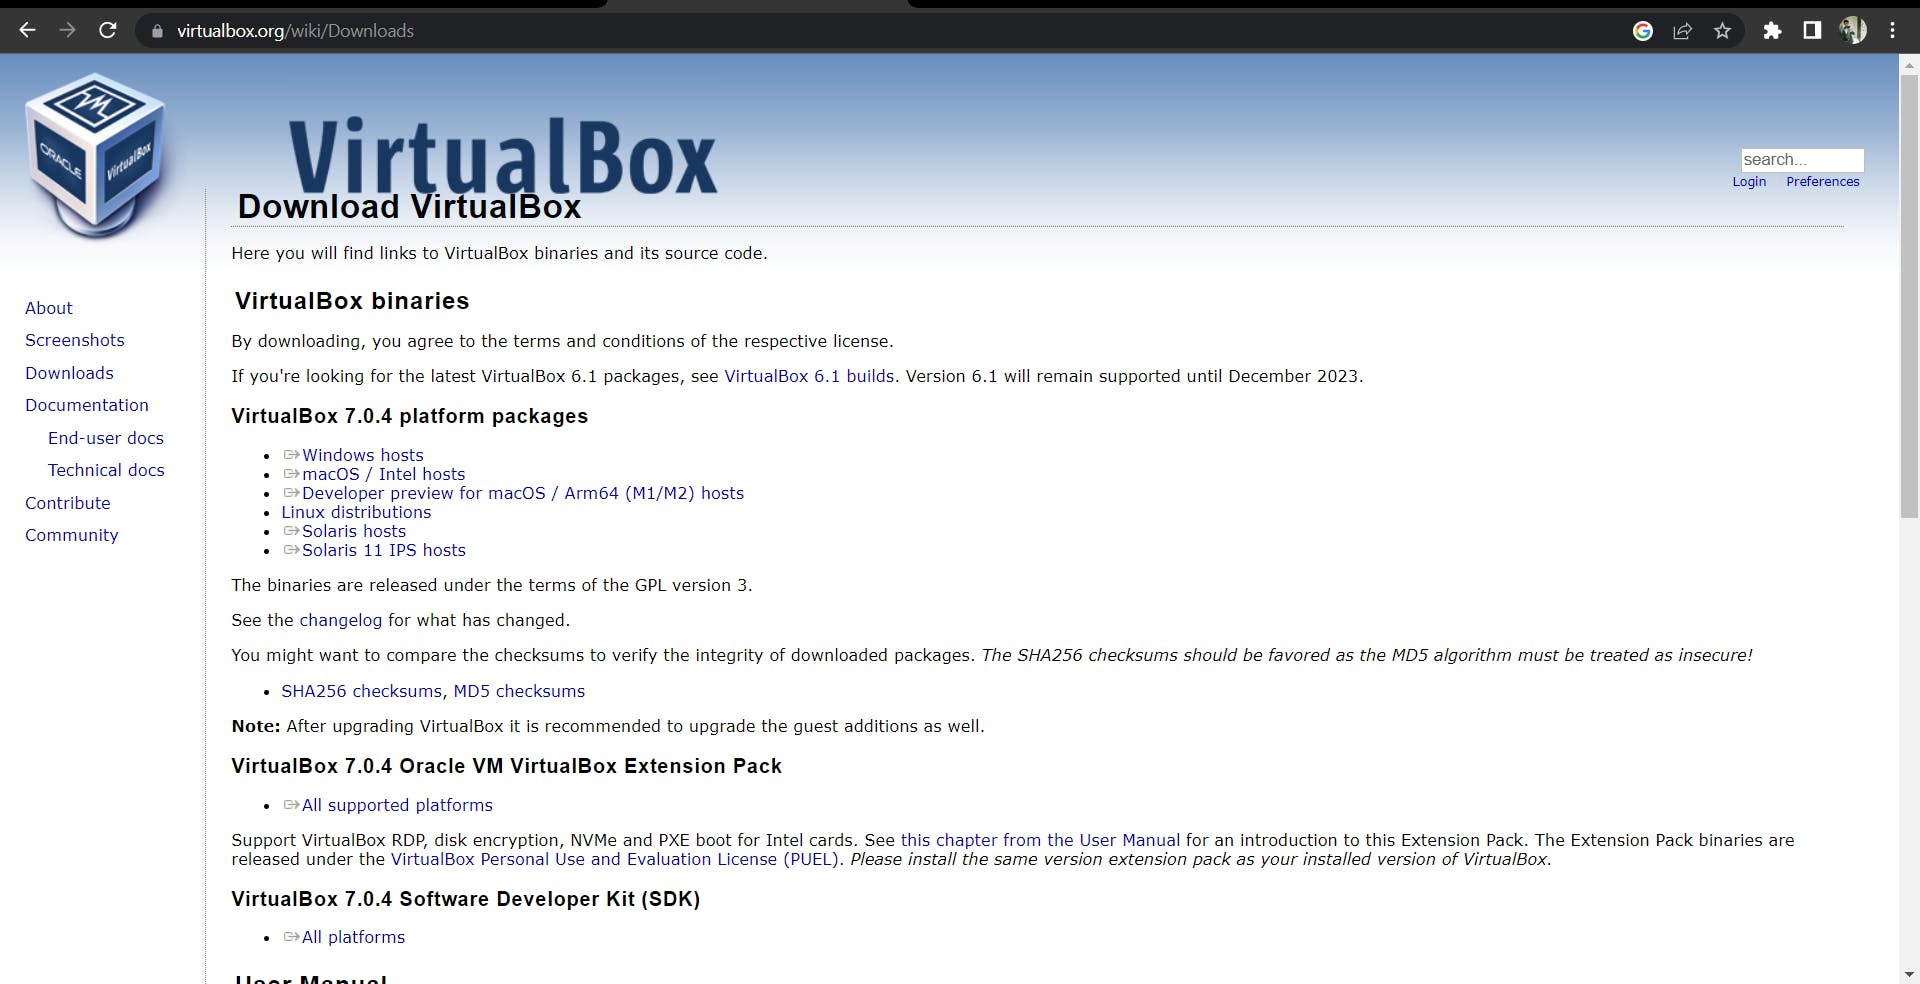
When the download is complete, simply click next until you complete the setup. Click install to begin the installation. When the installation is complete, click Finish.
Setup of VirtualBox
Once the installation is complete, you should see the following interface-
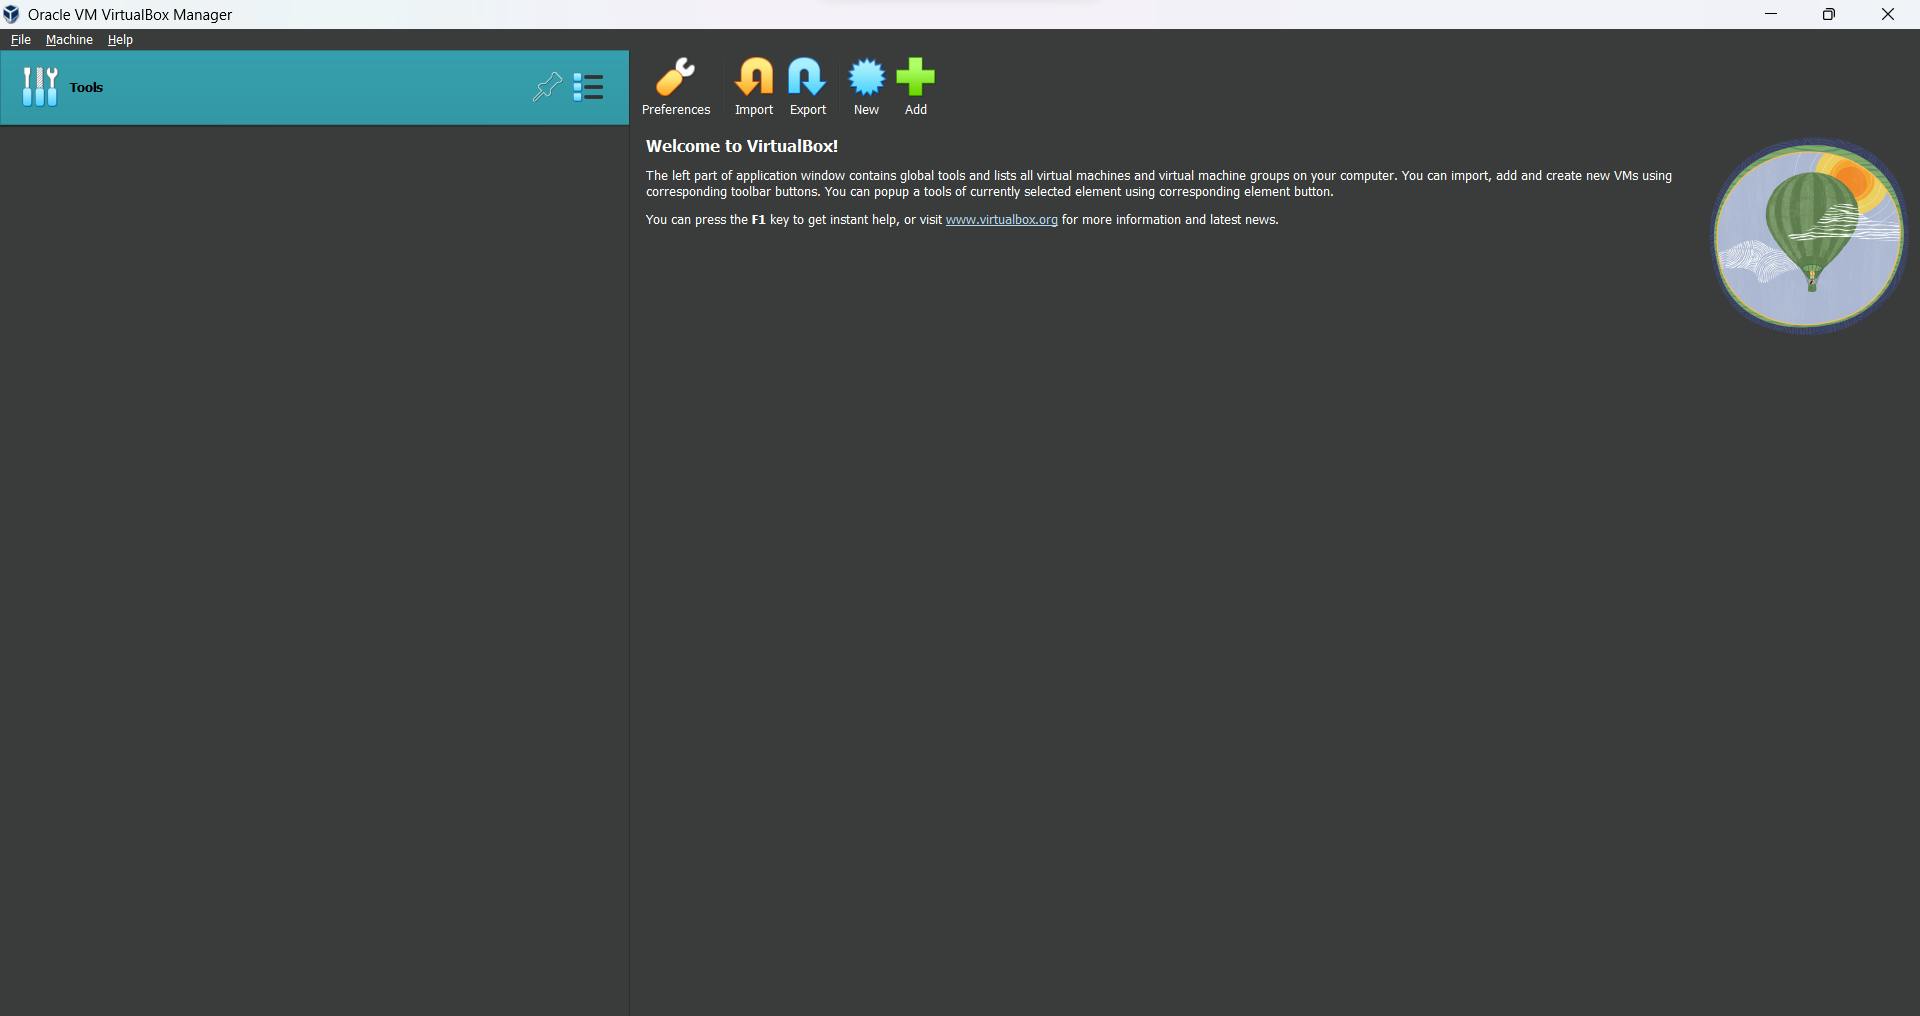
Continue with the following steps for the installation of Ubuntu on your Oracle VirtualBox-:
Click the Next button at the top and name it Ubuntu 20.04.
Select the type, Linux.
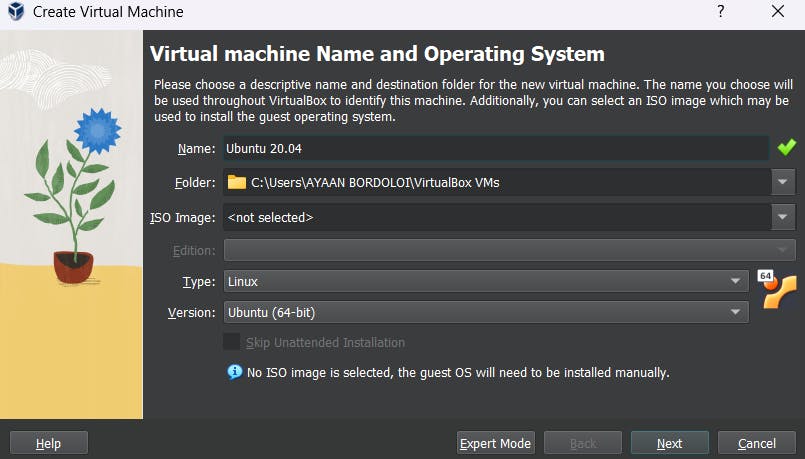
Click Next
You will see the Hardware
Select the Base Memory up to 4Gb (Recommended for beginners).
The Base Memory depends on the extra resources that you have on your system.

Click Next and you will reach the Virtual Hard Disk
It is a virtual Hard Drive. It is generally a containerized file that is used by the virtual machine to store all your files.
Select Create a Virtual Hard Disk Now.
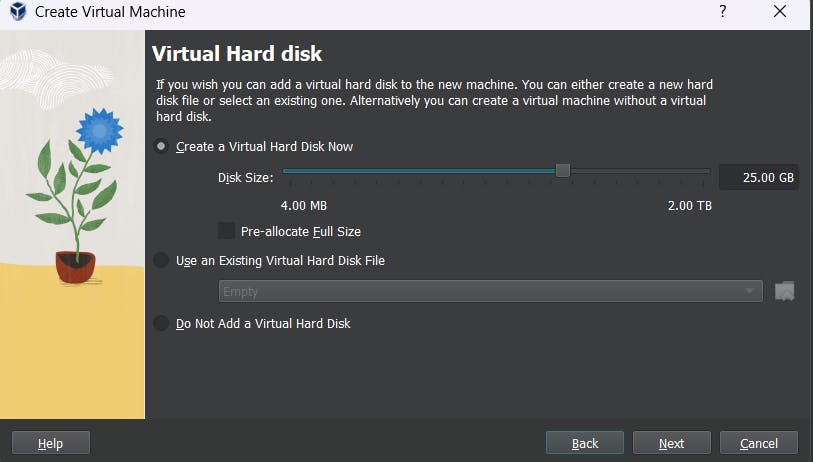
Click Next and it will summarize all the configurations you have chosen for the new virtual machine.
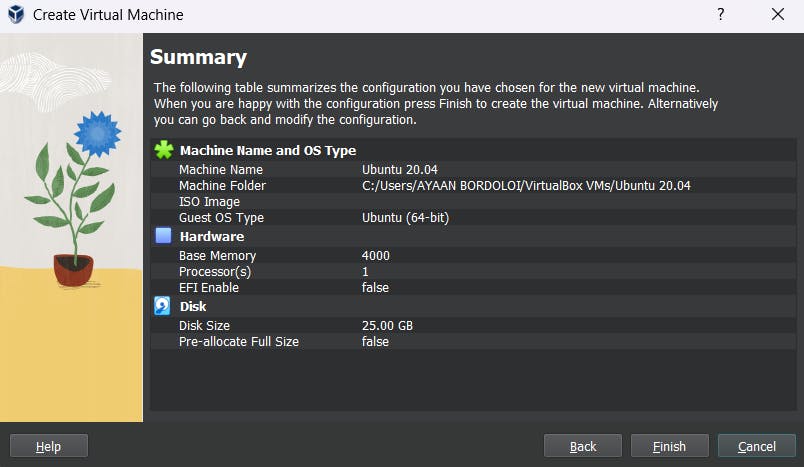
Click Finish to create the virtual machine.
This would conclude the setup and that was the initial configuration of the Virtual Machine.
Installing Ubuntu on the VirtualBox
Now we have to go to the settings and make a few more changes before launching the Virtual Machine.
Click the Settings button at the top and make sure that the Virtual machine is selected that you have just created.

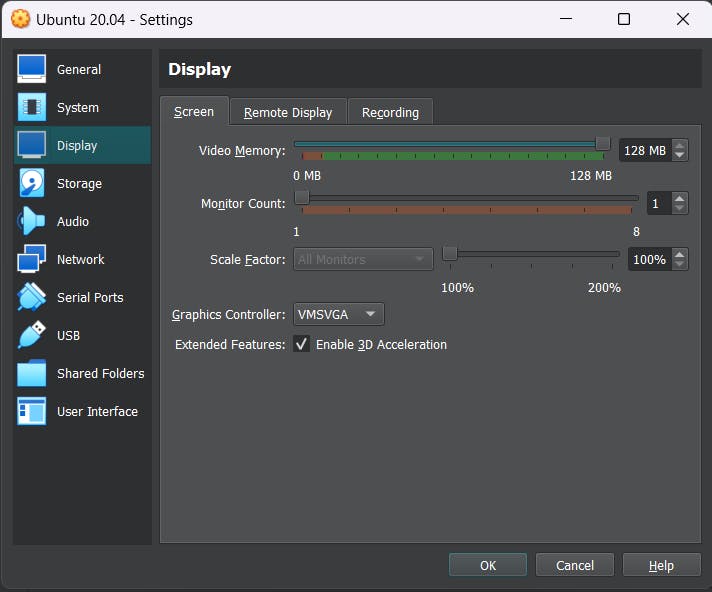
- Select Display and max the Video Memory.
Enable 3D acceleration.
Click Storage below Display and click on the small disk and click choose a disk file, then select the Ubuntu iso file that we installed earlier.
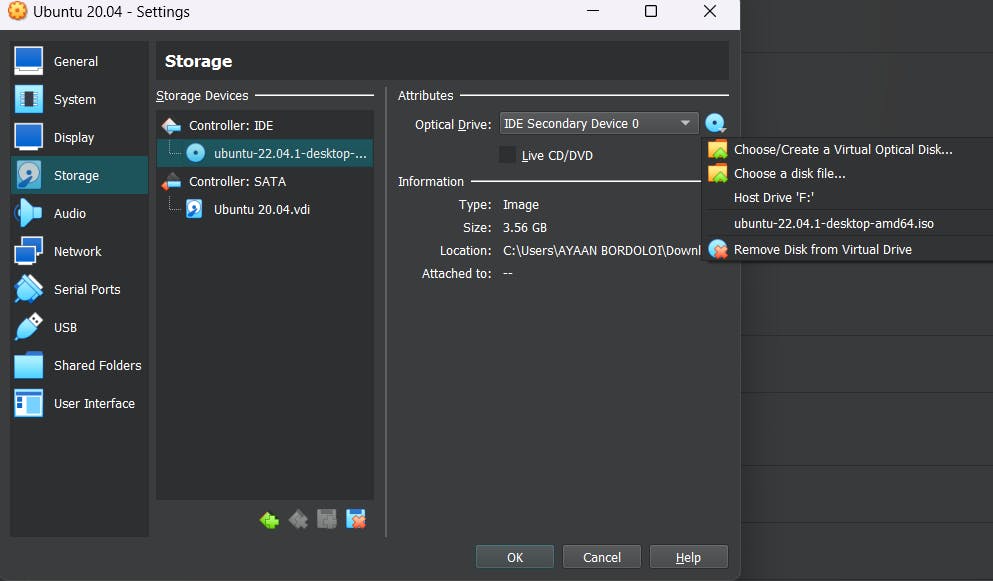
This is needed to boot up the operating system.
Save the settings by clicking ok.
Booting and starting the Installation
Double-clickon the Virtual Machine at the left for the booting and installation process.It will check the files and open up the installer (This may take some time).
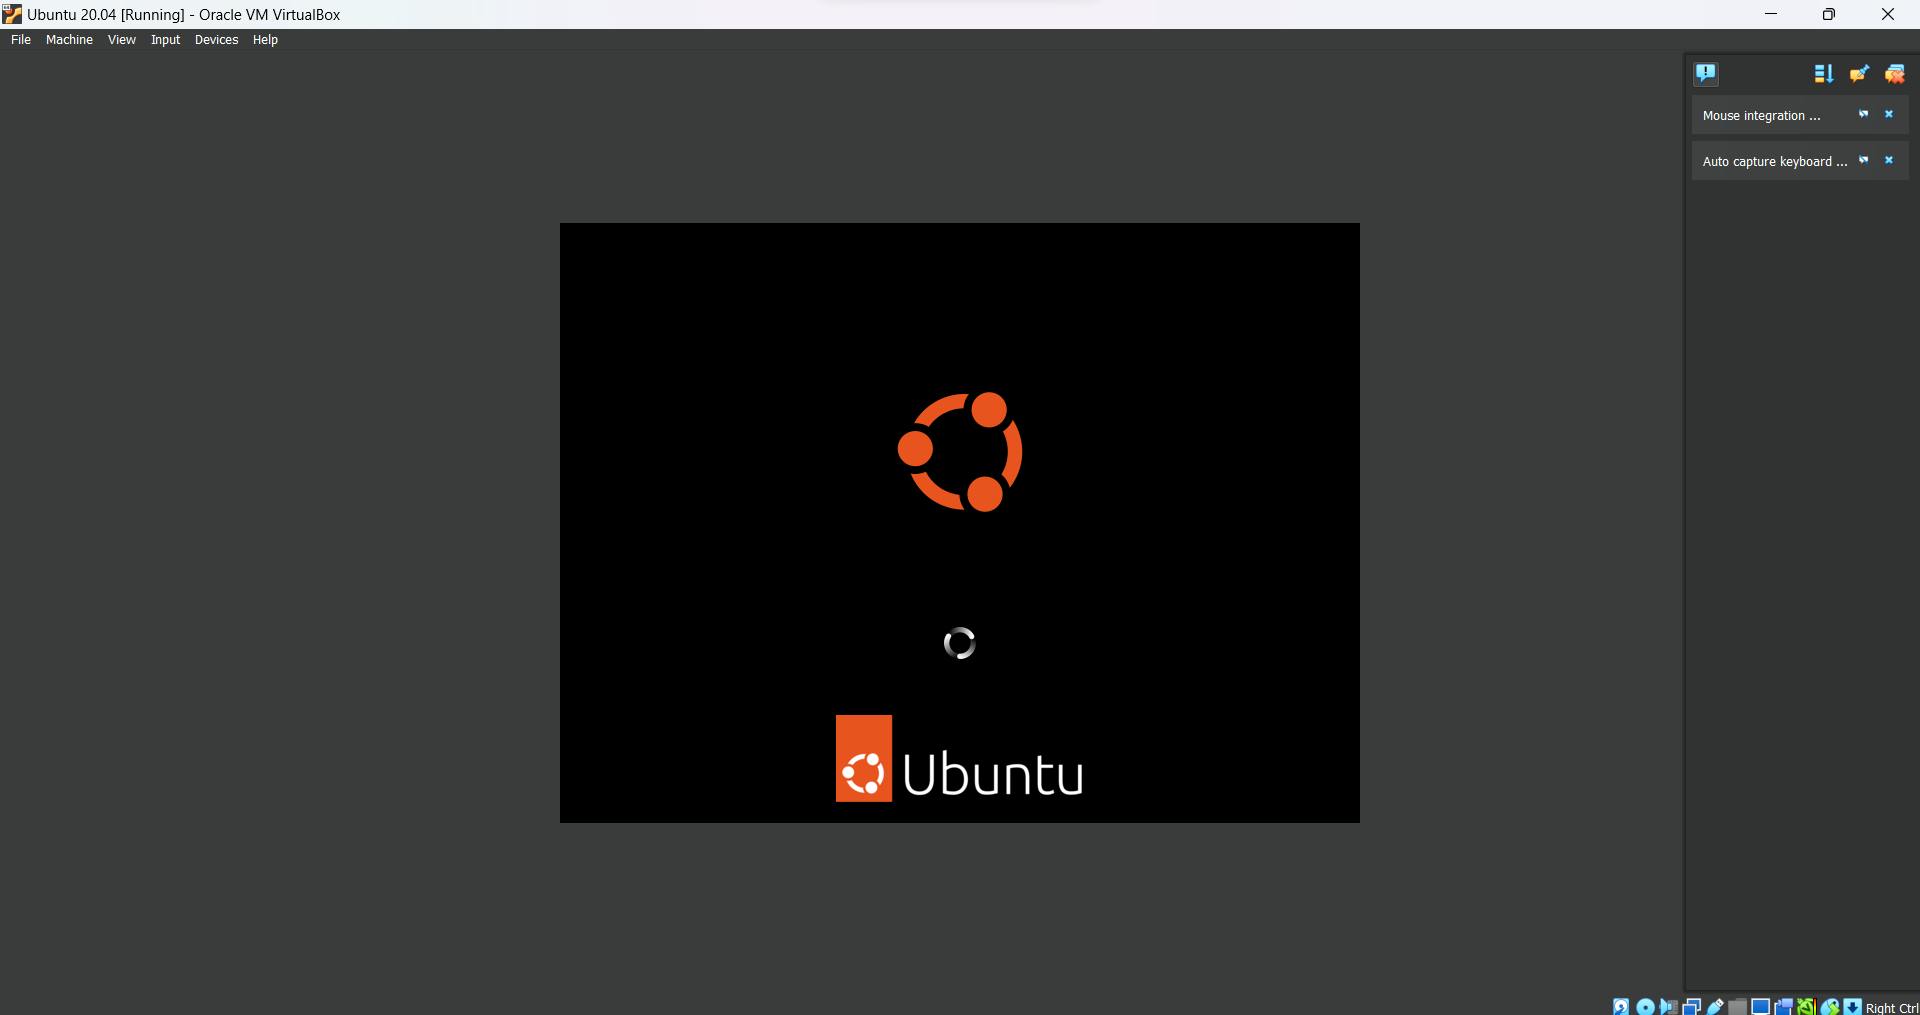
It will pop up with an installer right away as soon as it boots into the operating system.
Two options would be shown for the installation -
Try Ubuntu
Install Ubuntu
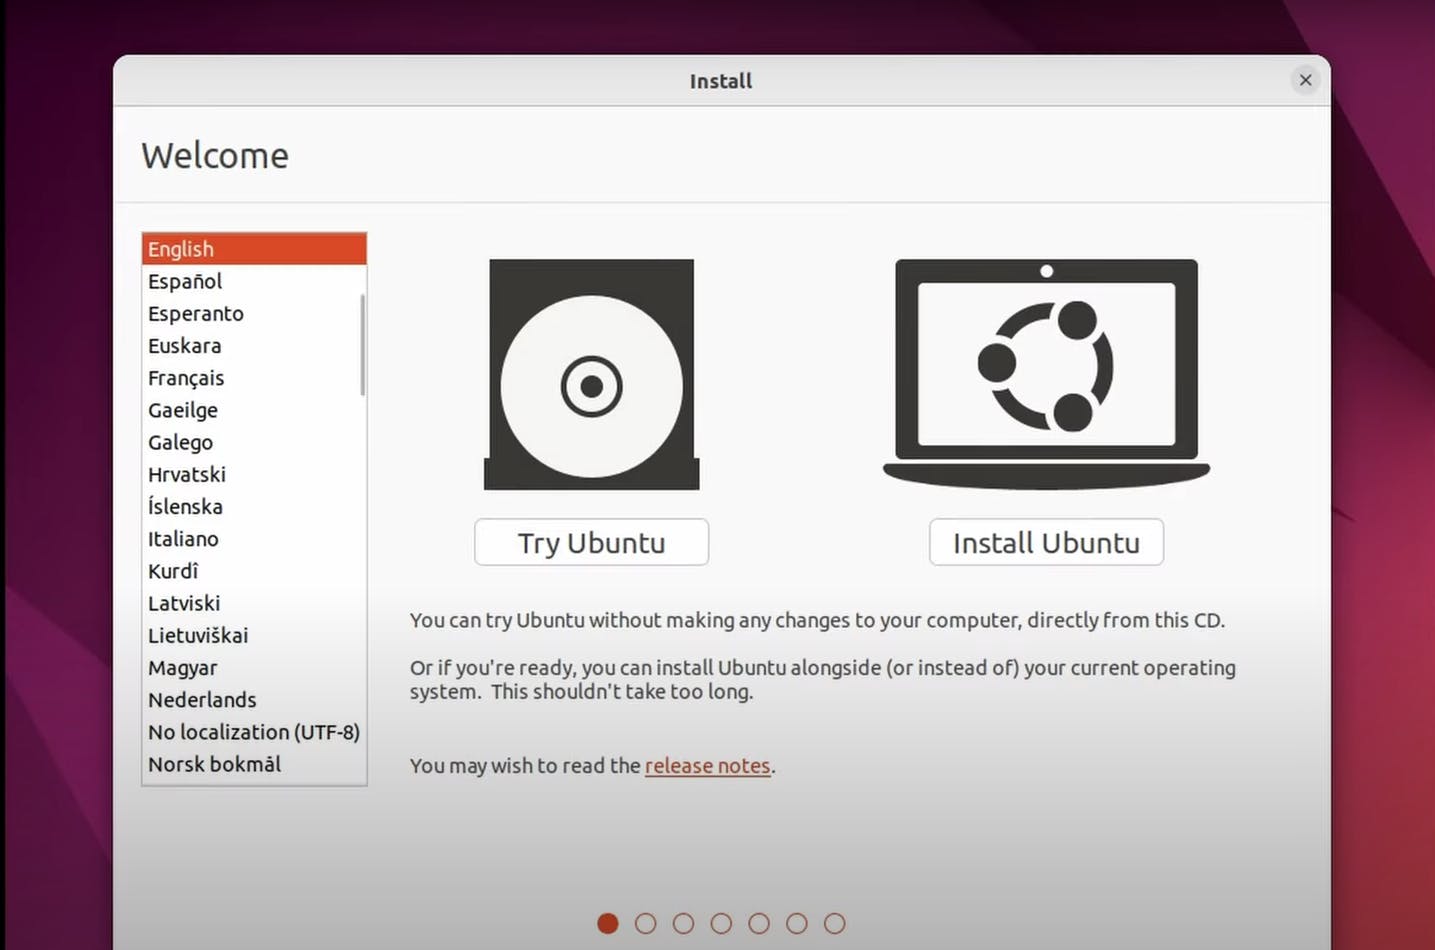
Select Install Ubuntu and click continue.
- Select
Normal installationand click continue.
Select Erase the disk and install Ubuntu.
Don't worry about the warning since we are not directly installing Ubuntu on our Hard Drive.
Choose your location and select continue.
Fill in your details and select continue.
The installation may take some time.
After the installation, Ubuntu will attempt to reboot and after a while, you will see Ubuntu's login screen. Login with the details you filled in earlier and you will see the following screen.
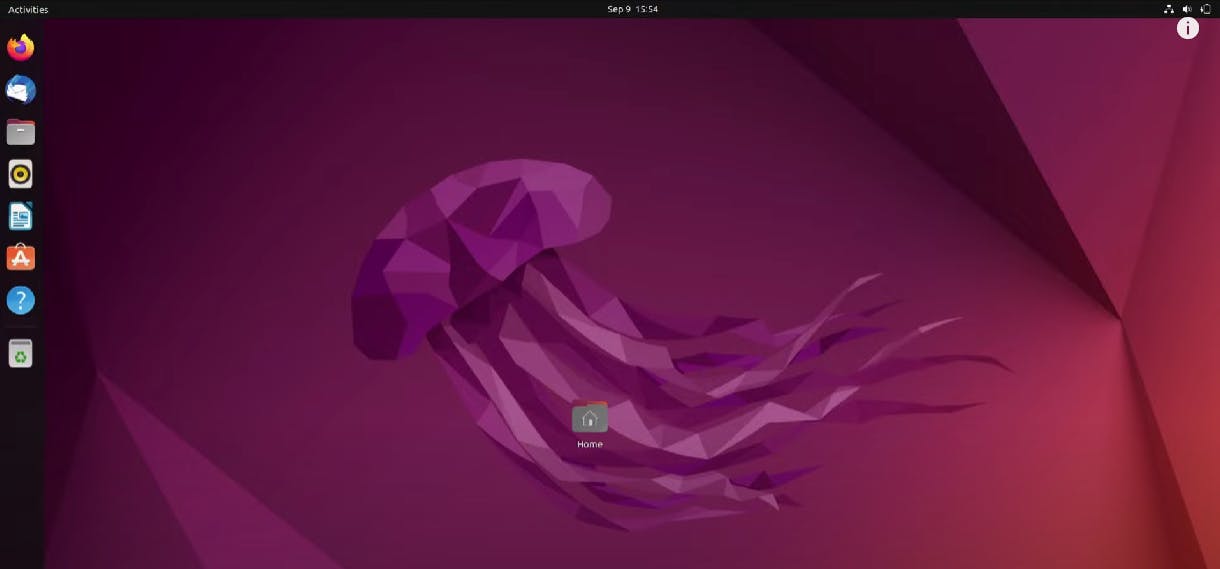
Congratulations you have successfully installed and completed the setup of Ubuntu Linux on your VirtualMachine!
Conclusion
Now, you have a virtual machine running a Linux OS within your host OS.
Hope this helped!
