LAMP Stack Installation on Amazon Linux 2023

Studying Electronics and Communication Engineering at Chandigarh Engineering College. Learning Devops and Data Structures & Algorithms. Exploring new technologies and blogging.
Introduction
"LAMP" stack is a group of four different open-source software technologies used to build websites and web applications. "LAMP" stands for Linux OS; Apache web server; MySQL database server; and PHP programming language.
In this blog, we will install the LAMP stack on Amazon Linux 2023.
Launching an EC2 instance
The first step of this tutorial is to launch an EC2 instance using Amazon Linux 2023.
To do so, follow the steps below-
Log in to your AWS console and navigate to the EC2 service.
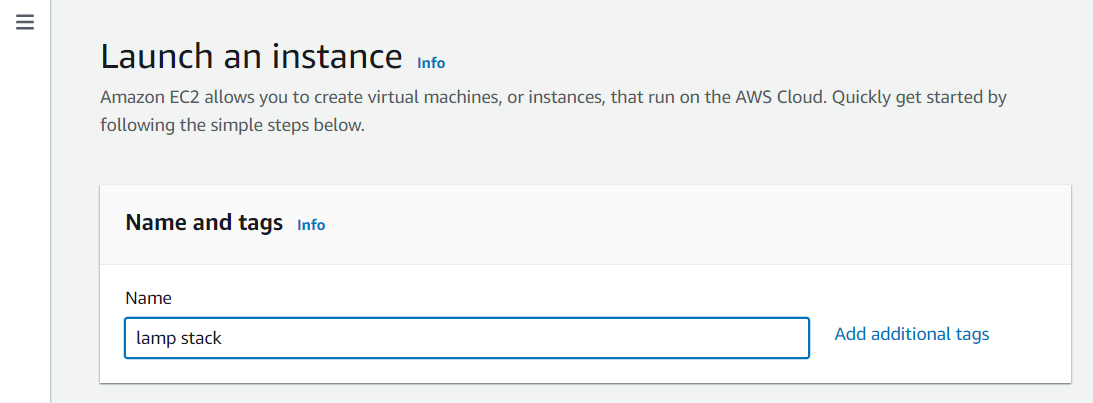
Click on "Launch instance".
Name your instance
Choose your
AMIasAmazon Linux 2023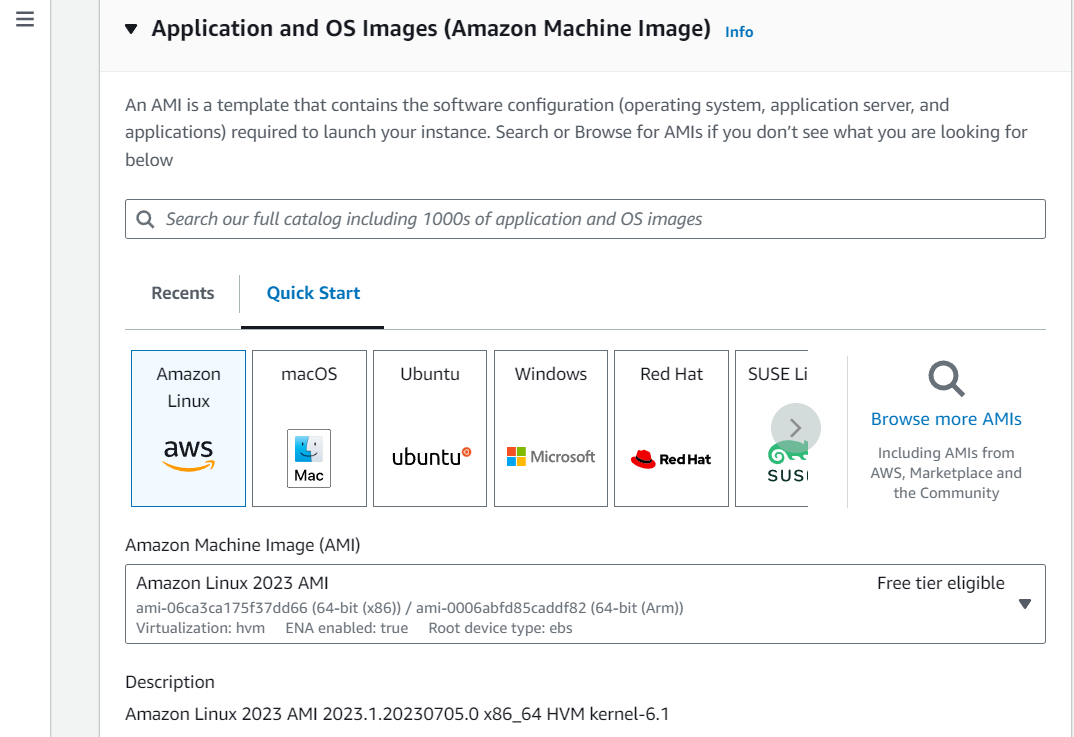
Choose your instance type as
t2.microand create a new key pair of theRSAtype in.pemformat.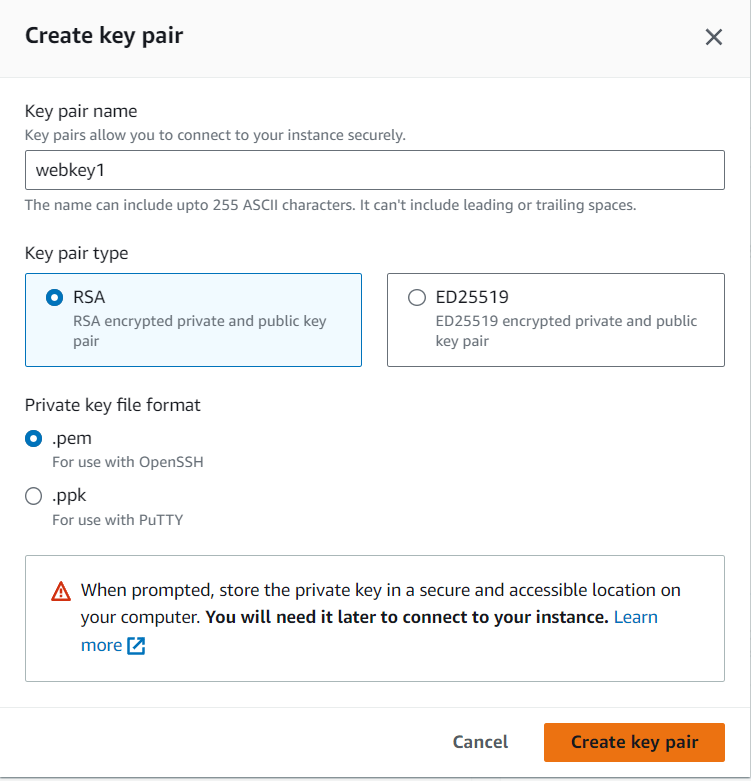
In the Network Settings, create a new
security groupand leave the network settings at their default values.
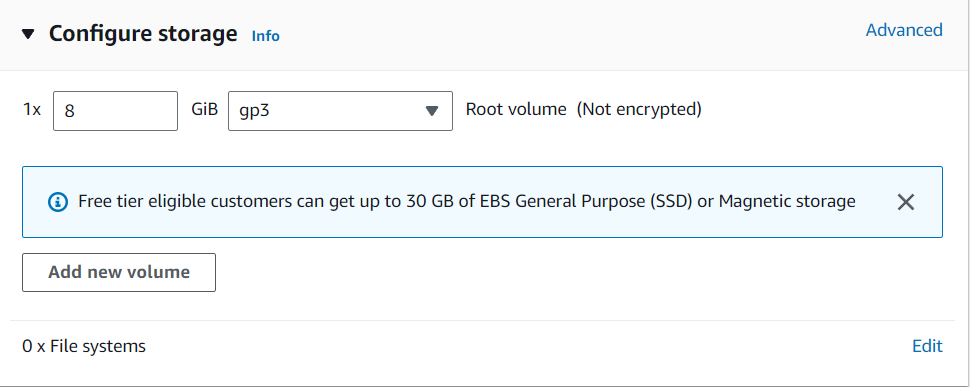
Choose the storage as 8 GiB and click "Launch instance."
Connect to your EC2 instance
After launching the Amazon Linux 2023 instance we need to connect to it through a SSH client.
Open your command terminal and run the following command to connect to your ec2 instance.
ssh -i Downloads/[securitykey].pem ec2-user@[ip address of your instance]
You will find the public IPV4 address of your instance in the details section of your running instance.

After connecting to your instance you should see the following-

Now that we are done creating and connecting to our instance, we will proceed with the rest of the LAMP tutorial.
Step 1: Installing the LAMP software packages
First, we will need to ensure that all our software packages have been updated using the following command.
[ec2-user ~]$ sudo dnf update -yThe
-yoption installs the updates without asking for confirmation.We will install the latest versions of the
Apacheweb server andPHPpackages.[ec2-user ~]$ sudo dnf install -y httpd wget php-fpm php-mysqli php-json php php-develInstall the
MariaDBsoftware packages.[ec2-user ~]$ sudo dnf install mariadb105-serverdnf installcommand is used to install multiple software packages and all the related dependencies at the same time.
Step 2: Starting Apache web server & Updating Firewall
Start the
Apacheweb server with the following command.[ec2-user ~]$ sudo systemctl start httpdEnable the
Apacheweb server to start at each system boot.[ec2-user ~]$ sudo systemctl enable httpdUpdating Firewall:
Go to instances and click on your running EC2 instance.
Below, you will see the security options. Click on them and proceed thereafter.
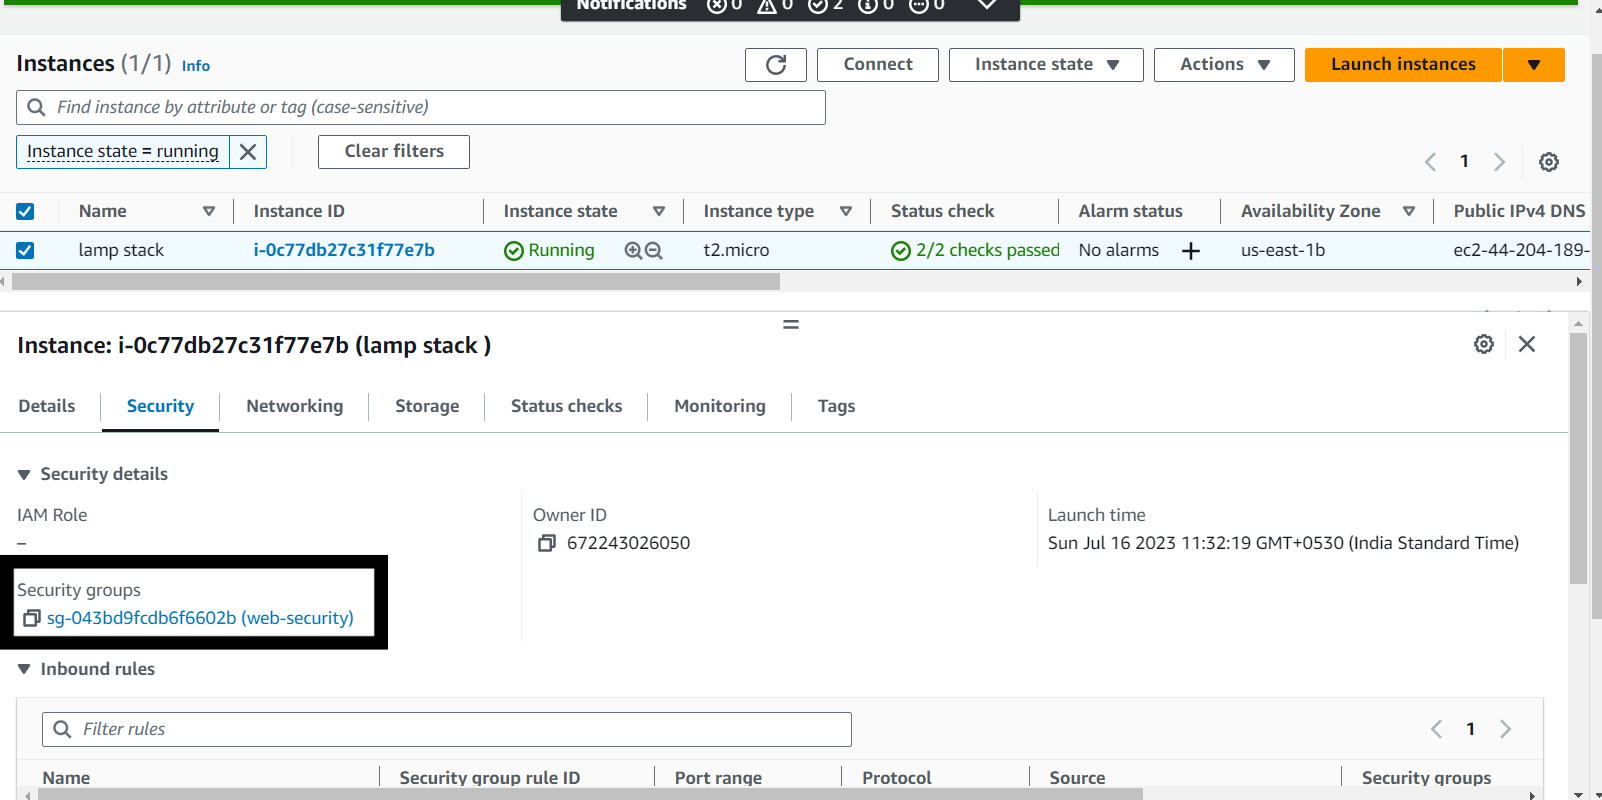
Click on the security groups shown above.
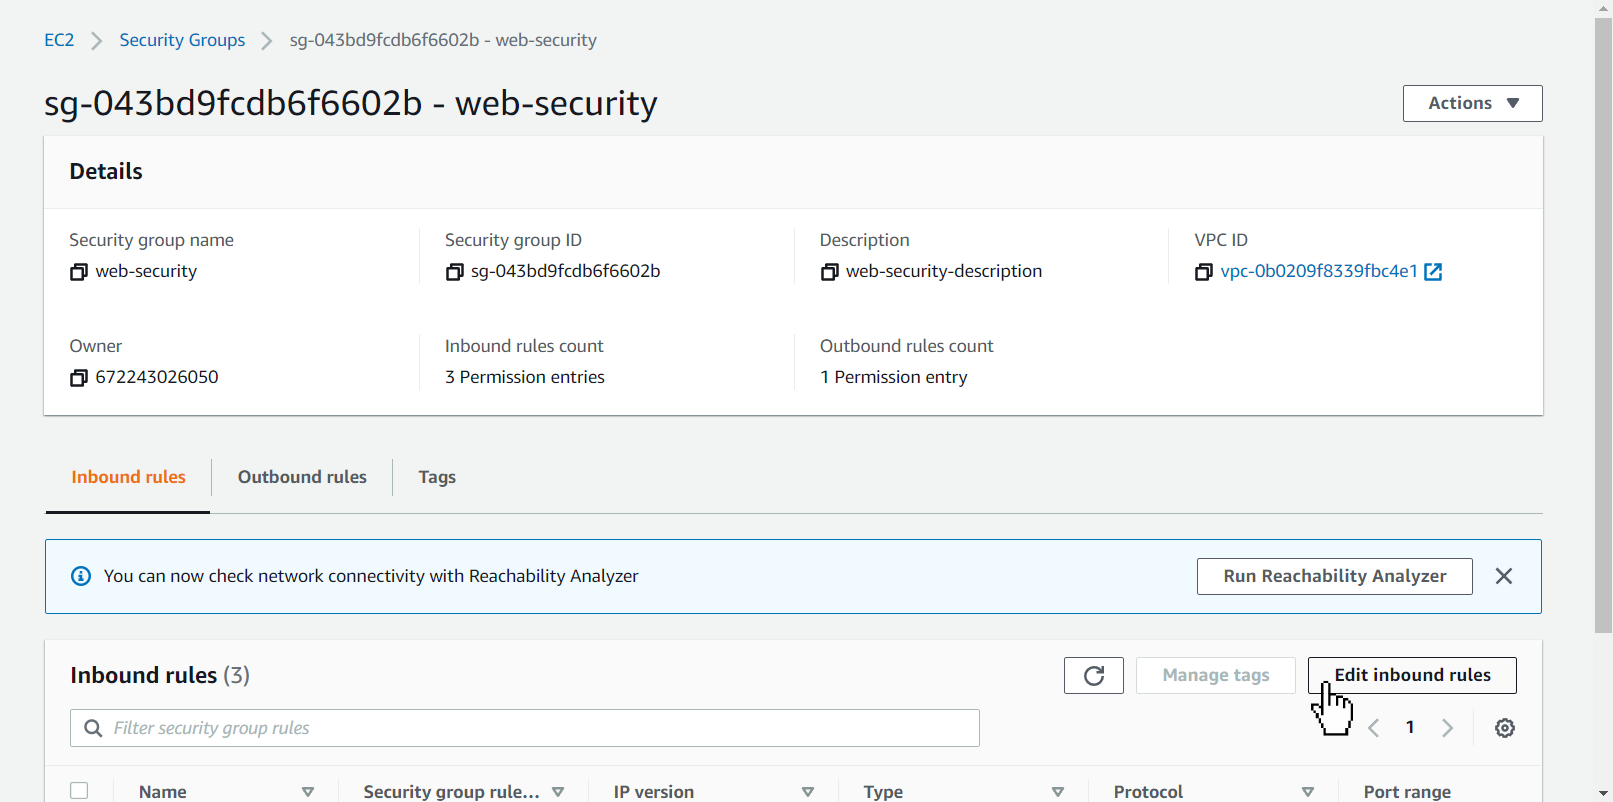
Click on Edit inbound rules.
Add the
HTTPrule and save it to allow inboundHTTP(port 80) connections to your instance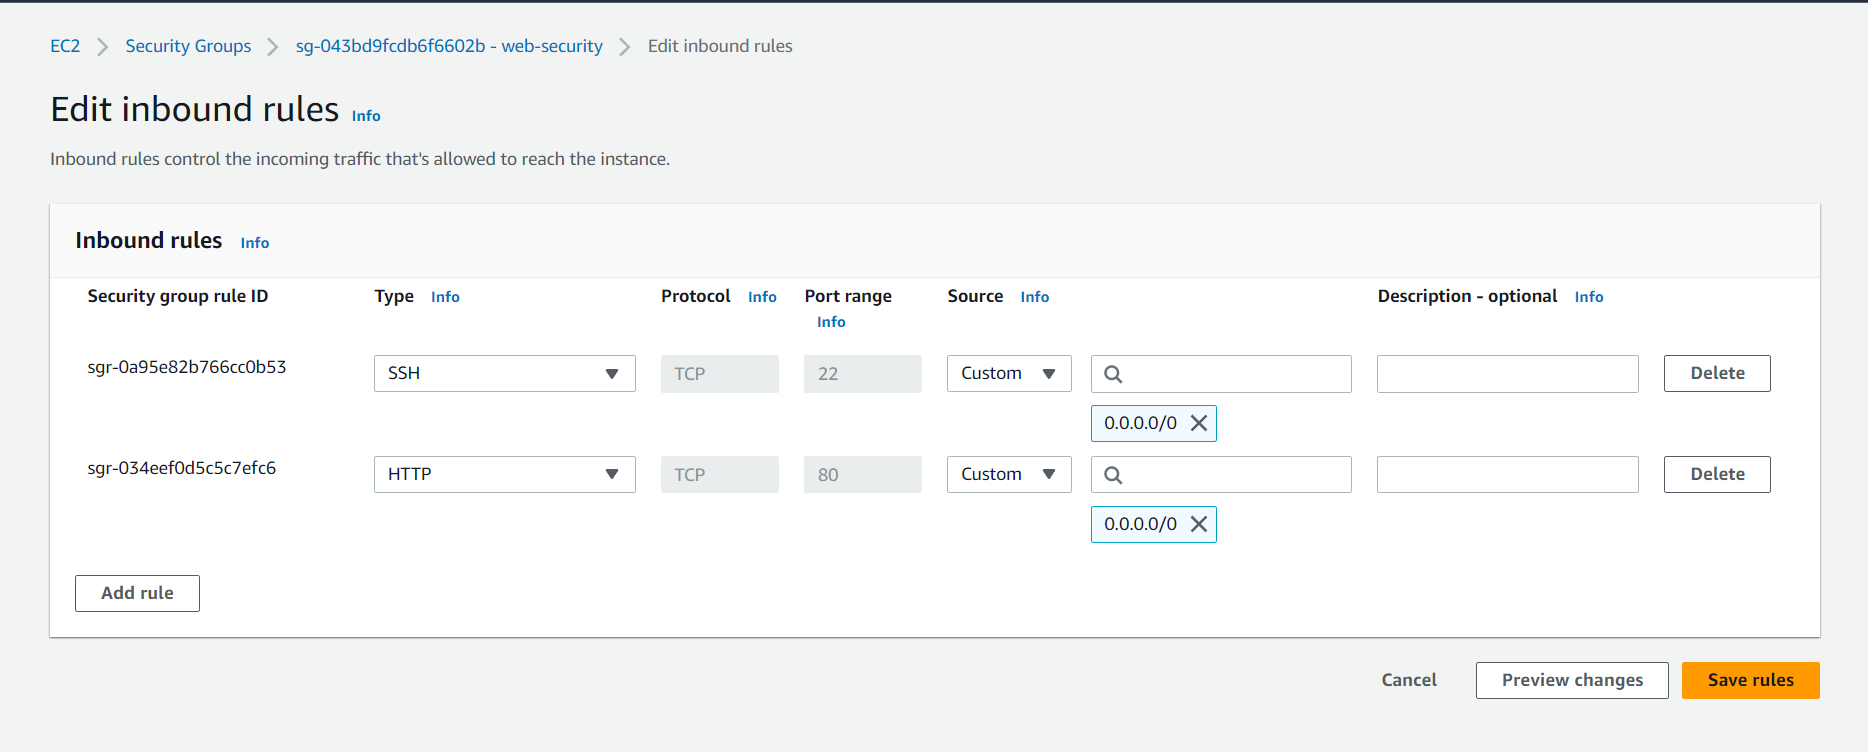
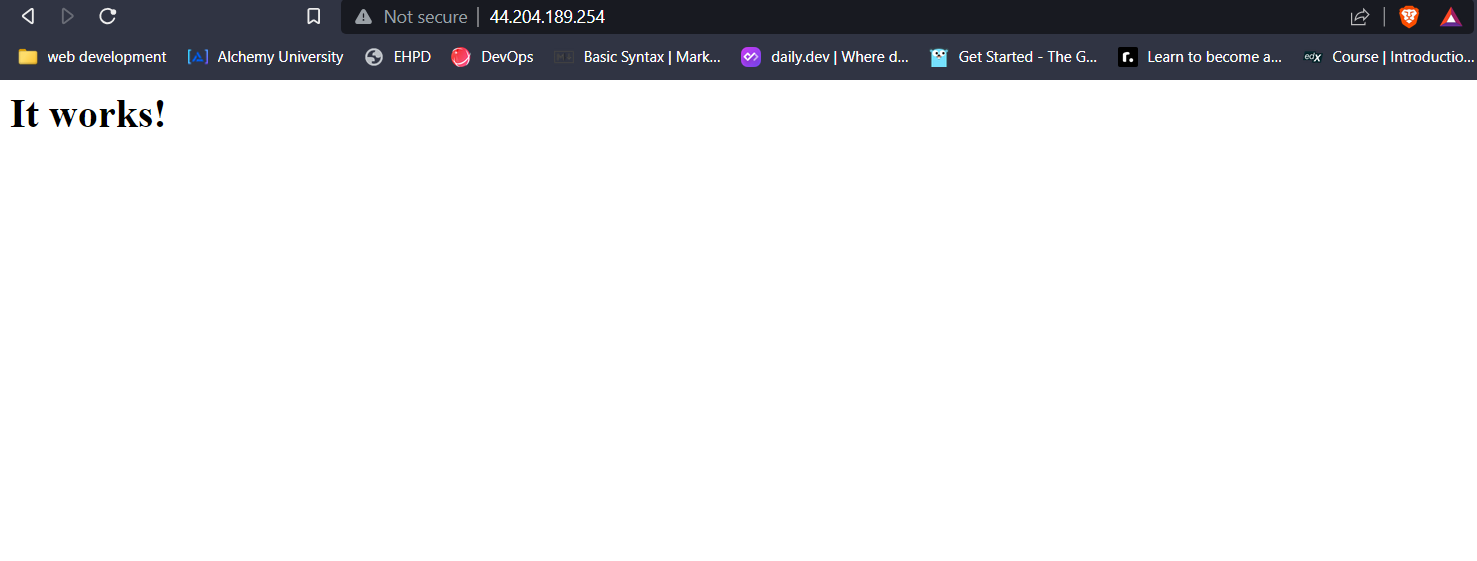
To check if the Firewall has been updated to allow inbound
HTTPconnections, open a new tab in your browser and paste the IPV4 address of your instance.You should see the following -
Step 3: Adding EC2-user to Apache Group
Apache Httpd serves files that are kept in a directory called the Apache document root. The Amazon Linux Apache document root is /var/www/html, which by default is owned by root.
To allow the ec2-user account to manipulate files in this directory, we must modify the ownership and permissions of the directory.
In this tutorial, we add ec2-user to the apache group to give the apache group's ownership of the /var/www directory and assign write permissions to the group.
Add
ec2-userto theapachegroup.[ec2-user ~]$ sudo usermod -a -G apache ec2-userLog out and then log back in again to verify.
Log out (use the exit command or close the terminal window):
[ec2-user ~]$ exitTo verify reconnect to your instance, and then run the following command:
  [ec2-user ~]$ groups
  ec2-user adm wheel apache systemd-journal
Change the group ownership of
/var/wwwand its contents to theapachegroup.[ec2-user ~]$ sudo chown -R ec2-user:apache /var/wwwAdd group write permissions and set the group ID on future subdirectories, change the directory permissions of
/var/wwwand its subdirectories.[ec2-user ~]$ sudo chmod 2775 /var/www && find /var/www -type d -exec sudo chmod 2775 {} \;Add group write permissions, recursively change the file permissions of
/var/wwwand its subdirectories:[ec2-user ~]$ find /var/www -type f -exec sudo chmod 0664 {} \;Now,
ec2-usercan add, delete, and edit files in the Apache document root.
Step 4: Testing the LAMP server
Now that our server is running and we have added the ec2-user to the Apache group, we should be able to create PHP files in the /var/www/html directory that is available from the internet.
Create a PHP file in the Apache document root using the following command.
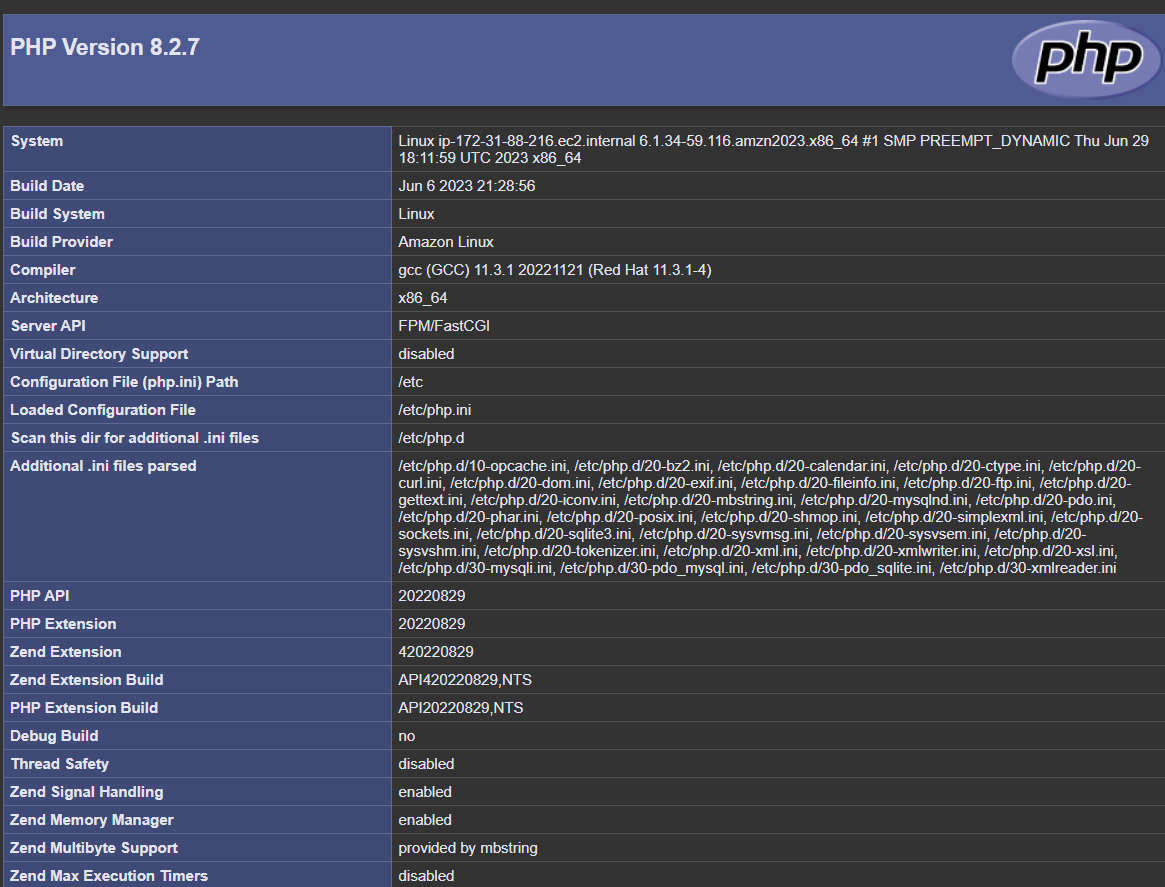
[ec2-user ~]$ echo "<?php phpinfo(); ?>" > /var/www/html/phpinfo.phpIn a web browser, type the URL of the file that you just created. This URL is the public DNS address of your instance followed by a forward slash and the file name. For example:
http://ec2-44-204-189-254.compute-1.amazonaws.com/phpinfo.phpNote:
ec2-44-204-189-254.compute-1.amazonaws.comis my public DNS address. You will find your own DNS address in your running instance.You should see the following page:
Delete the
phpinfo.phpfile. Although this can be useful information, it should not be broadcast to the internet for security reasons.[ec2-user ~]$ rm /var/www/html/phpinfo.phpNow you have a fully functional LAMP server.
Step 5: Securing Database server
The command mysql_secure_installation guides you in configuring a root password and eliminating any vulnerable elements from your installation.
Start the MariaDB server.
[ec2-user ~]$ sudo systemctl start mariadbRun
mysql_secure_installation.[ec2-user ~]$ sudo mysql_secure_installationWhen prompted for a password press ENTER since by default, the root account does not have a password set.
Type
Yto set a password, and type a secure password twice.Type
Yfor all the questions asked thereafter.
We have successfully secured the database in our LAMP server.
Conclusion
With the help of this blog, we have effectively completed the installation process for all the essential software components needed to construct the LAMP stack on Amazon Linux 2023. By having the LAMP stack in place, we have everything we need to start creating a web application.
In case you have any questions regarding this article, please feel free to comment in the comments section.
I would like to give a shoutout to the Guys in the Cloud team & Rushabh Mahale for all the support and guidance.


